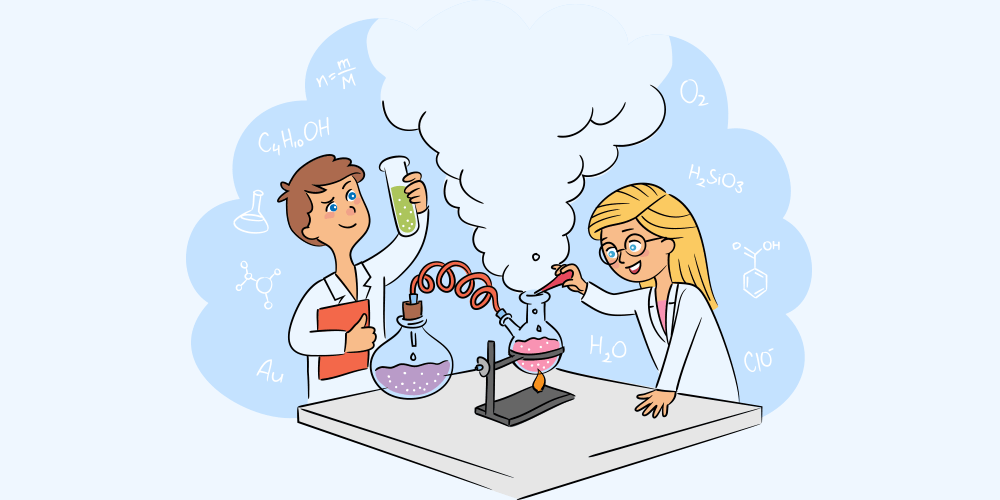
Is your kid a budding scientist? If yes, you’ll undoubtedly want to think of ways to encourage their enthusiasm for STEM (science, technology, engineering, and mathematics) subjects.
Fortunately, children of all ages can learn from even the most basic science experiments carried out at home. Check out these 10 easy science experiments for young scientists.
Table of Contents
- 1. Lava Lamp
- 2. Surface Tension (Using Black Pepper!)
- 3. Homemade Slime
- 4. Dancing raisins
- 5. Float or Sink
- 6. Cleaning Dirty Pennies
- 7. Rainbow Celery (Capillary Action)
- 8. Water Fireworks
- 9. Mixing Immiscible Liquids
- 10. Tie-Dye
- 11. Build a Balloon-Powered Car
- 12. Create a Paper Bridge and Test Weight Limits
- 13. Make a Straw Rocket
- 14. Launch a DIY Catapult with Popsicle Sticks
- 15. Drop Parachutes made from Coffee Filters
- 16. Build a Rubber Band-Powered Boat
- 17. Use LEGO to Build a Marble Maze
- 18. Construct a Simple Pulley System
- 19. Balance Objects with Center of Gravity Experiments
- 20. Create a Rube Goldberg machine
- Wrapping up
1. Lava Lamp
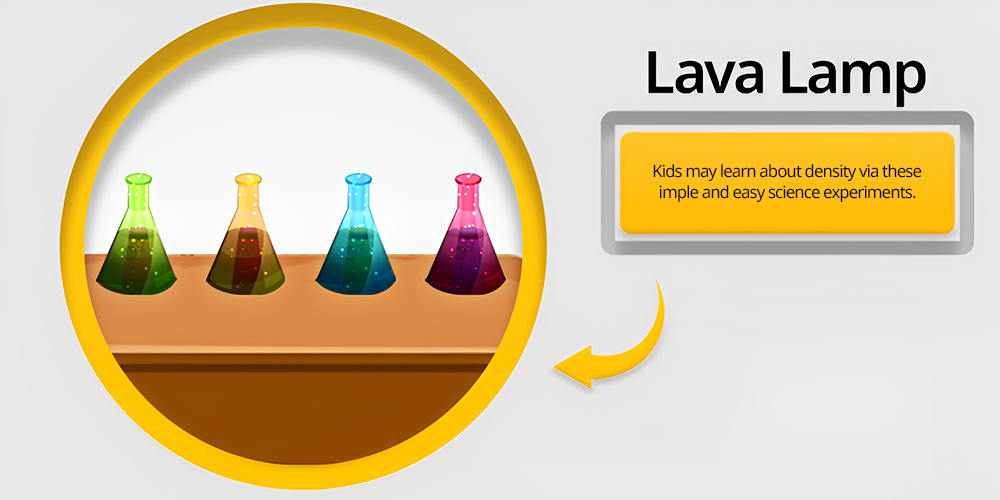
Children aged 4 to 12 (and beyond!) really like this easy experiment, and it will send the adults back in time as well. Kids may learn about density via these simple and easy science experiments.
You’ll need:
a) A clean bottle of plastic (or several plastic bottles)
b) Water
c) Plant-based oil
d) Fizzing tablets (like an alka-seltzer tablet)
e) Coloring agents
Steps:
Water should be added to the bottle until it is about 1/4 full. Fill the rest of the bottle to the top with vegetable oil. If you have a funnel, use it.
Then, include a few drops of food colouring in your chosen colour. Keep an eye on the colour as it passes through oil. Then add the fizzing tablet.
The tablet will sink through oil and combine with water. Carbon dioxide gas is produced as the tablet dissolves. This creates a beautiful, colourful lamp, because of the emission of gas!
2. Surface Tension (Using Black Pepper!)
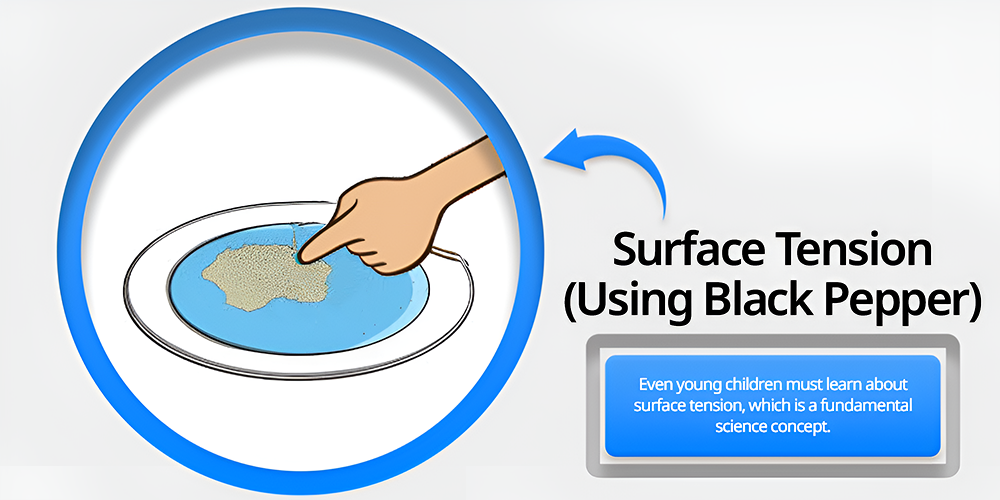
Even young children must learn about surface tension, which is a fundamental science concept.
You’ll need:
a) Black pepper
b) A dish
c) Water
d) Liquid soap
Steps:
First, pour a thin coating of water on a plate—less than an inch should do.
Next, sprinkle pepper over the water, trying to cover as much of the surface as you can. More pepper equals more fun.
Last but not the least, dab your finger in the liquid soap. Touch the pepper to witness the soap releasing the water’s surface tension!
The water’s surface tension is broken by the soap. Because water molecules tend to cling together, there is surface tension in water.
3. Homemade Slime
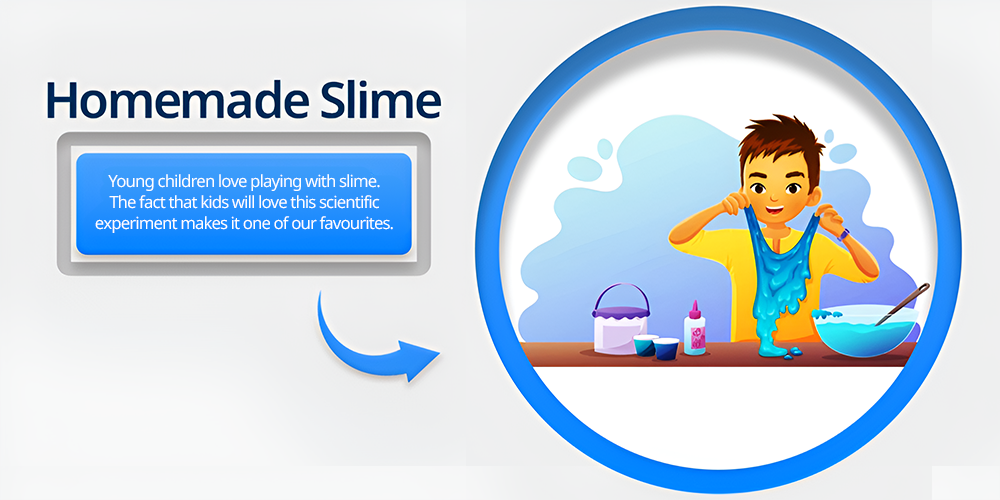
Young children love playing with slime. The fact that kids will love this scientific experiment makes it one of our favourites.
Materials:
a) Water
b) School glue in white
c) Food colouring
d) Borax
e) Two bowls
Steps:
In a bowl, first combine 1/4 cup water and 1/4 cup white school glue. (If you would like extra, double the amount.)
Next, add a few drops of food colouring to the mixture to make your slime.
After that, whisk together 1/2 cup of water and 1/2 tablespoon of borax until the borax dissolves.
You and your kid just invented slime at home! You can also try some fun educational activity at home.
4. Dancing raisins
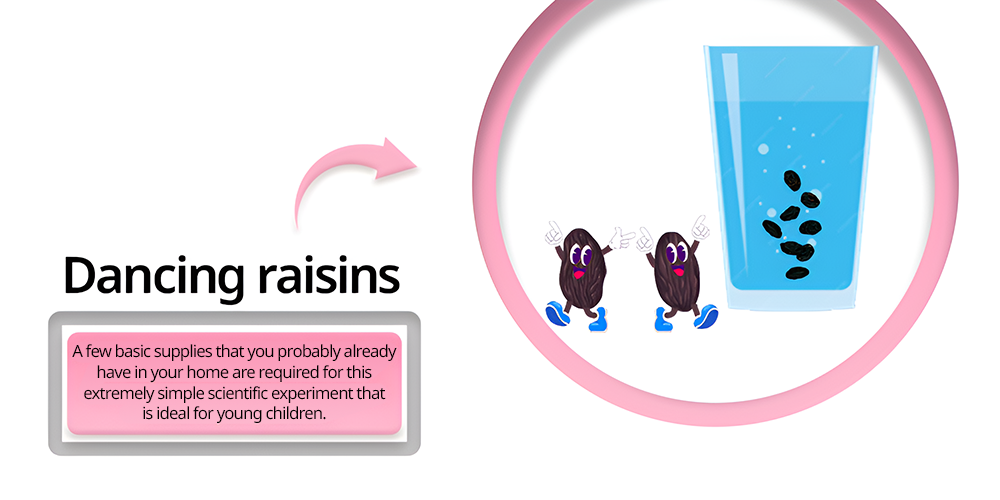
A few basic supplies that you probably already have in your home are required for this extremely simple scientific experiment that is ideal for young children.
You’ll require:
a) Clear Soda
b) A clear glass of water
c) Several raisins
Steps:
Start by pouring ordinary water or similar liquid without gas bubbles in one glass and clear soda in the other. After that, add raisins to each glass and observe how they behave with the clear soda.
The soda’s gas bubbles lift the raisins into the air. The raisins dip again as they explode.
When the carbon dioxide bubbles reach the soda’s surface, they pop, releasing the gas into the air. As a result, the raisin loses buoyancy and falls back to the glass’s bottom. Because of this, the raisin behaves differently in various liquids.
5. Float or Sink
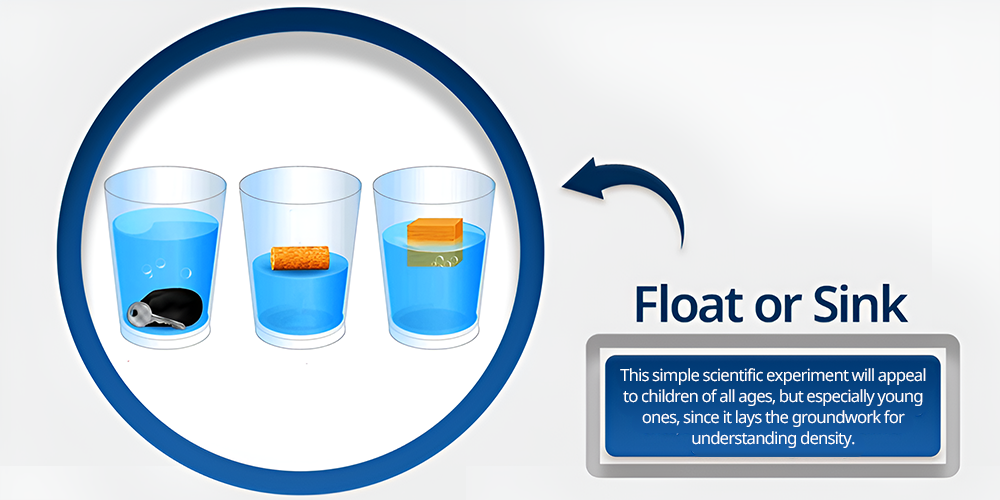
This simple scientific experiment will appeal to children of all ages, but especially young ones, since it lays the groundwork for understanding density.
You’ll require:
a) Two glasses of water
b) Small items from around the house
c) A piece of paper and a pen
Steps:
Start by adding water to two large, transparent containers. Then, instruct your children to collect little objects from around the home to see if they would sink or float.
Ask your children to make a list of the things on paper and predict whether or not they will float or sink before you test them.
Test each item now, then compare the results to their predictions! This is a fantastic technique to teach the scientific concept of density to children.
6. Cleaning Dirty Pennies
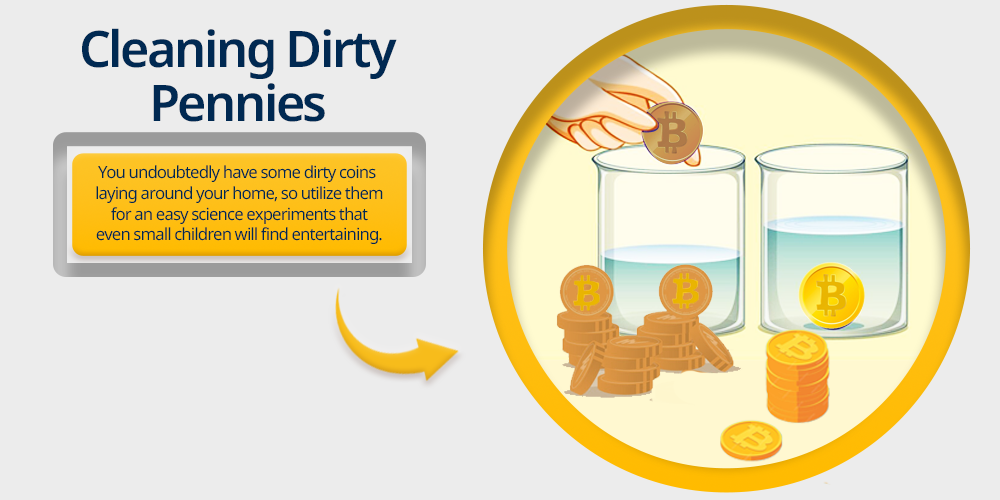
You undoubtedly have some dirty coins laying around your home, so utilize them for an easy science experiments that even small children will find entertaining.
Pennies are made of copper and have a long shelf life, so they frequently have a tarnished appearance.
You’ll find out in this experiment if soap, vinegar, or other liquids work better at cleaning the dirty copper pennies.
The pennies were seen to have a shinier appearance with vinegar in comparison to soap.
7. Rainbow Celery (Capillary Action)
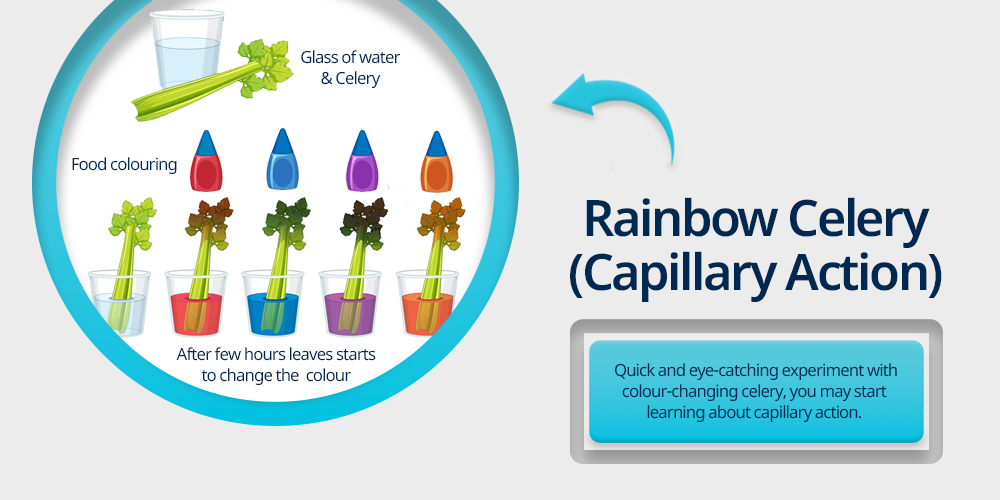
Do you have any celery in the fridge? Then, using a quick and eye-catching experiment with colour-changing celery, you may start learning about capillary action.
Your kids will cherish this craft for years to come since it’s so cool!
What you require:
a) Celery
b) Glasses of water
c) Food colouring
Steps:
Choose a sunny location and half-fill the cups with water.
After that, add various shades of food colouring to each glass.
Slice celery stalks and add them to the water glasses. You might also do this experiment using a flower that is light in colour.
Give the celery some time to sit. The leaves will start to change colour after a few hours.
With the help of this simple experiment, you can show your child how the celery stalks’ tiny vessels may transport water to the leaves, simulating the flow of blood in the human body.
8. Water Fireworks
This completely safe fireworks experiment will be popular during Diwali!
Materials:
a) Tall glass of water
b) Small glass of water
c) Oil
d) Food colouring
e) Fork
Steps:
Start by almost completely filling your glass with water. Add two teaspoons of oil to the small glass. Until it is broken up into smaller specks, add 2 drops of food colouring and stir the mixture with a fork.
Watch as the firework expands after adding the oil mixture to the water.
9. Mixing Immiscible Liquids
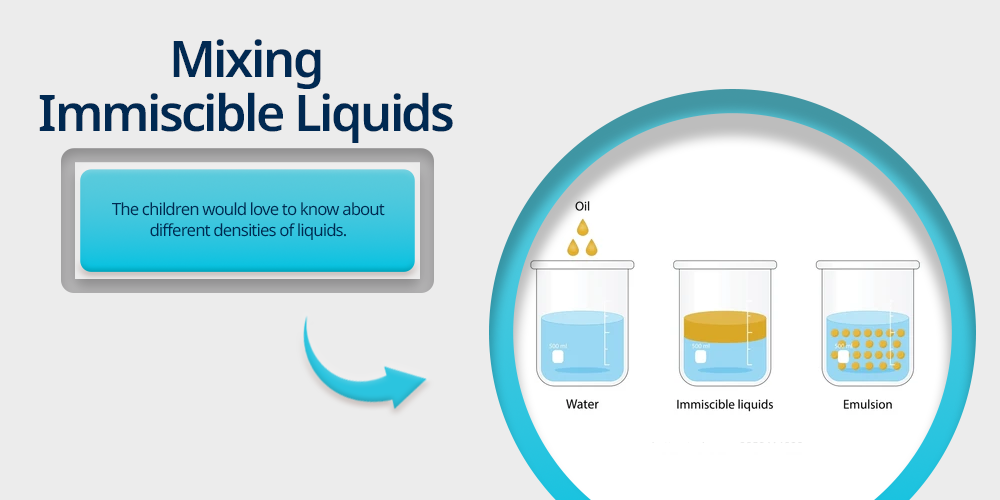
In this really simple experiment, oil and water are combined in equal quantities with a drop of food colouring to observe what happens.
The process of the food colouring passing through the oil will fascinate children. The colour passes straight through oil without mixing. However, it will mix with water.
The children would love to know about different densities of liquids and you’ll like how simple it is to set up and take down!
10. Tie-Dye
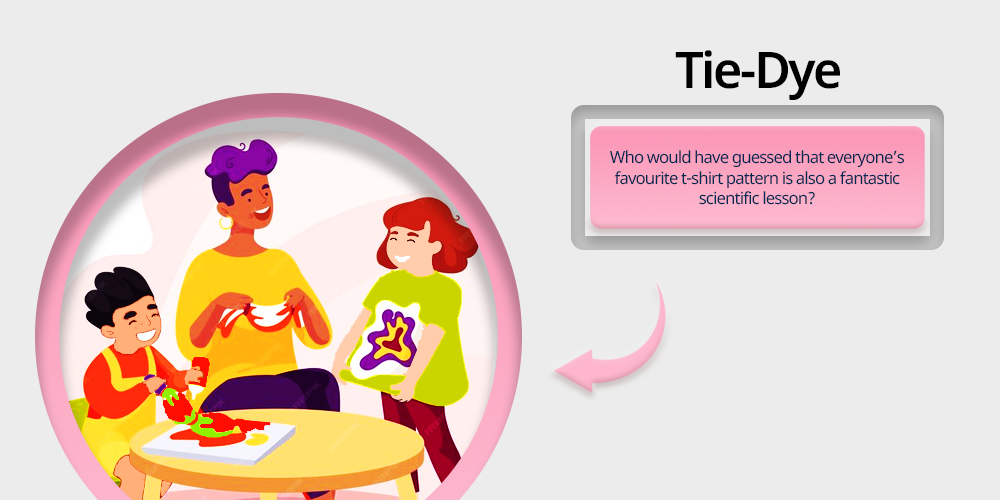
Who would have guessed that everyone’s favourite t-shirt pattern is also a fantastic scientific lesson? All you need are some rubber bands, buckets, dye, and an old white t-shirt or pillowcase.
Next, roll up your t-shirt and carefully knot each rubber band at the ends to make a pattern.
Start by dipping the t-shirt into each colour of dye.
Your youngster will be able to watch the water solubility and absorption in action as they colour the shirt.
Because the dyes are fibre-reactive, a chemical reaction occurs between the dye molecules and the fabric molecules, fusing them together. The dye fuses with the cloth and essentially turns into a component of it.
11. Build a Balloon-Powered Car
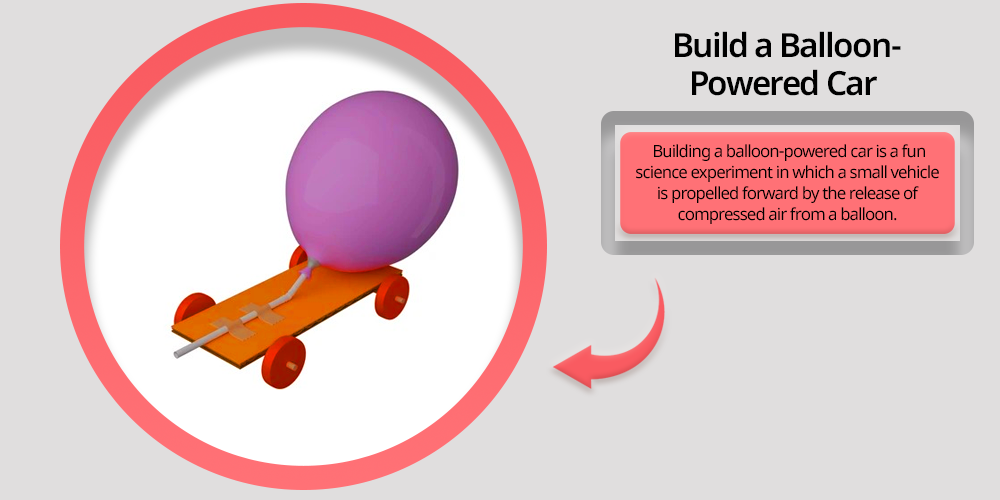
Building a balloon-powered car is a fun science experiment in which a small vehicle is propelled forward by the release of compressed air from a balloon.
How to do it: In this experiment kids attach a balloon to a straw, tape the straw to a lightweight car base. Then watch it zoom when air is released.
Advantage: It helps to learn the basic principles of propulsion and Newton’s Third Law.
12. Create a Paper Bridge and Test Weight Limits
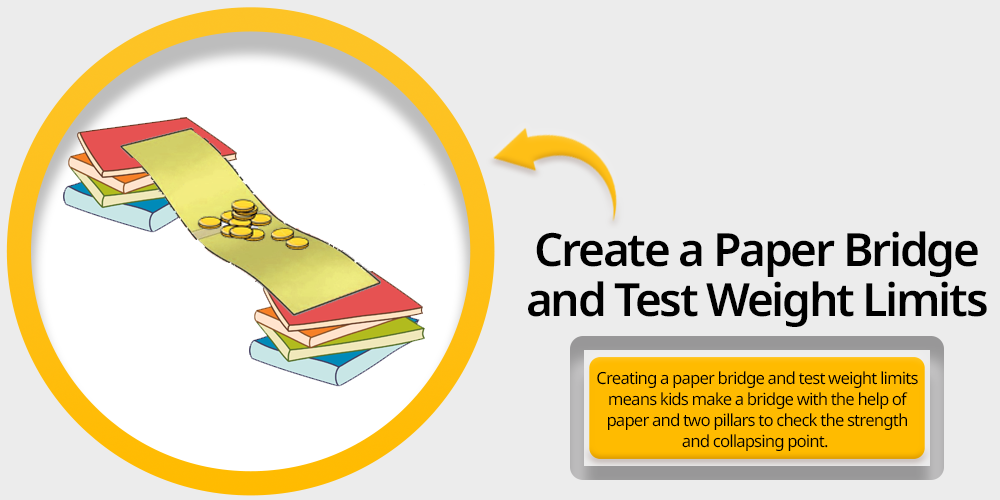
Creating a paper bridge and test weight limits means kids make a bridge with the help of paper and two pillars to check the strength and collapsing point.
How to do it: Put a piece of paper across the top of the two piles, making a bridge. Place coins on the bridge one by one and repeat until it falls.
Advantage: Through this experiment kids can demonstrate structural engineering and load distribution.
13. Make a Straw Rocket
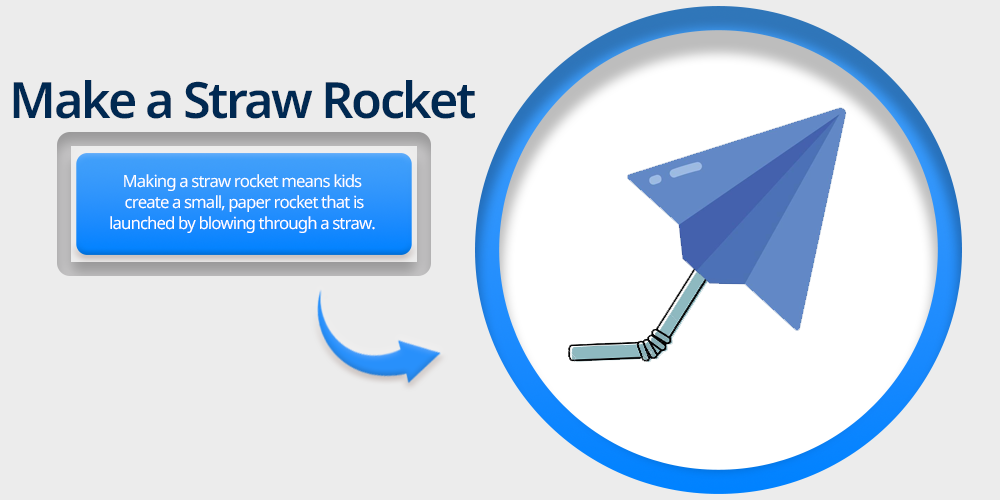
Making a straw rocket means kids create a small, paper rocket that is launched by blowing through a straw.
How to do it: Children start by constructing a paper rocket and slide it over a straw. Then blow through the straw to launch it successfully.
Advantage: The activity is for learning about forces and motion. Introducing this makes students learning easy.
14. Launch a DIY Catapult with Popsicle Sticks
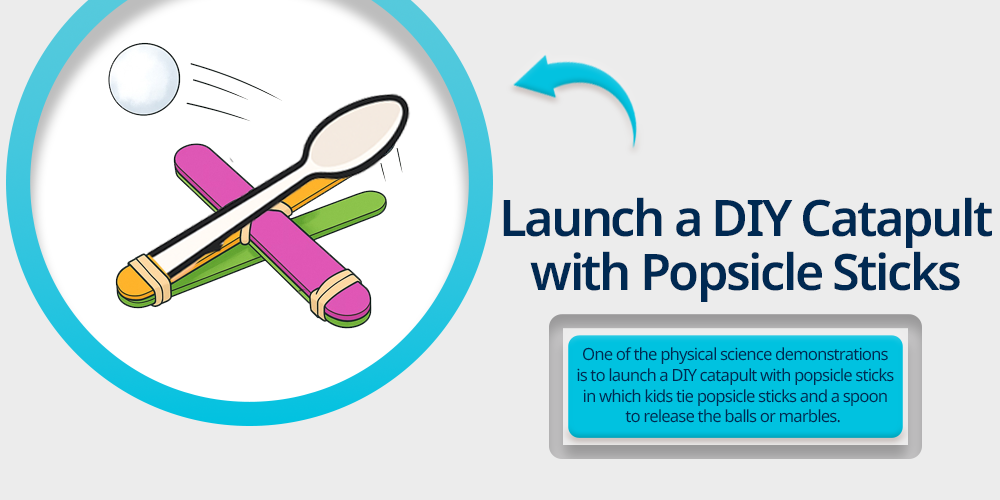
One of the physical science demonstrations is to launch a DIY catapult with popsicle sticks in which kids tie popsicle sticks and a spoon to release the balls or marbles.
How to do it: Stack and rubber-band into two popsicle sticks. Then add a spoon lever and launch small objects like marbles to see the experiment.
Advantage: The process teaches levers, tension, and energy transfer.
15. Drop Parachutes made from Coffee Filters
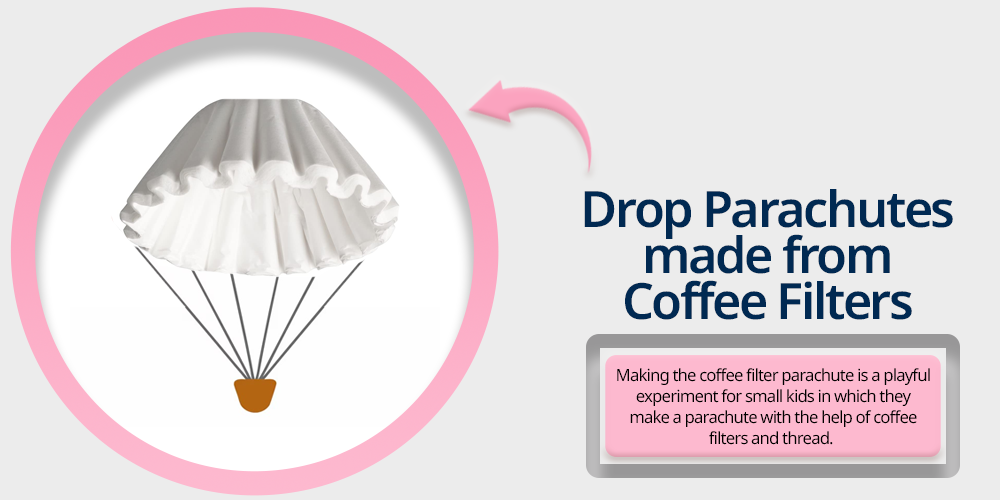
Making the coffee filter parachute is a playful experiment for small kids in which they make a parachute with the help of coffee filters and thread.
Let’s see how to do that:
How to do it: Make two tiny holes in the coffee filter then attach strings and weights to a coffee filter to create a parachute. Kids can also create designs for creativity.
Advantage: The experiment is ideal to learn the air resistance and gravity.
16. Build a Rubber Band-Powered Boat

Building a rubber band-powered boat refers to creating a vessel that uses the stored potential energy of a wound-up rubber band to propel a paddle or propeller through water.
How to do it: Use a rubber band to rotate a paddle attached to a lightweight boat.
Advantage: In this experiment kids are able to demonstrate how the stored energy can be used to create motion.
To get families with kids with energy you must read science experiments for kids renewable energy.
17. Use LEGO to Build a Marble Maze
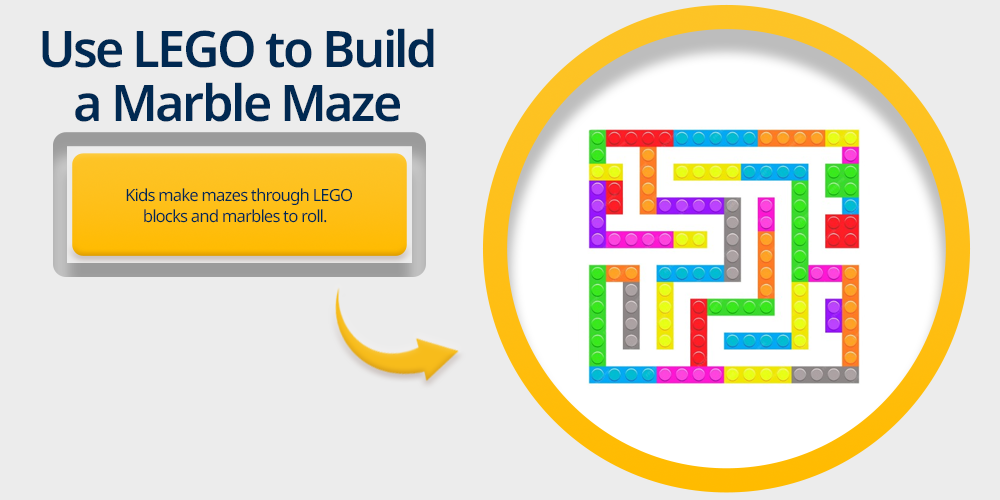
LEGO blocks and marble go hand in hand. Kids make mazes through LEGO blocks and marbles to roll. Here kids can use their creative thinking skills to make the maze design unique.
How to do it: Kids start by creating a maze using LEGO bricks and navigate a marble through it.
Advantage: The activity is best to enhance problem-solving skills and spatial awareness.
18. Construct a Simple Pulley System
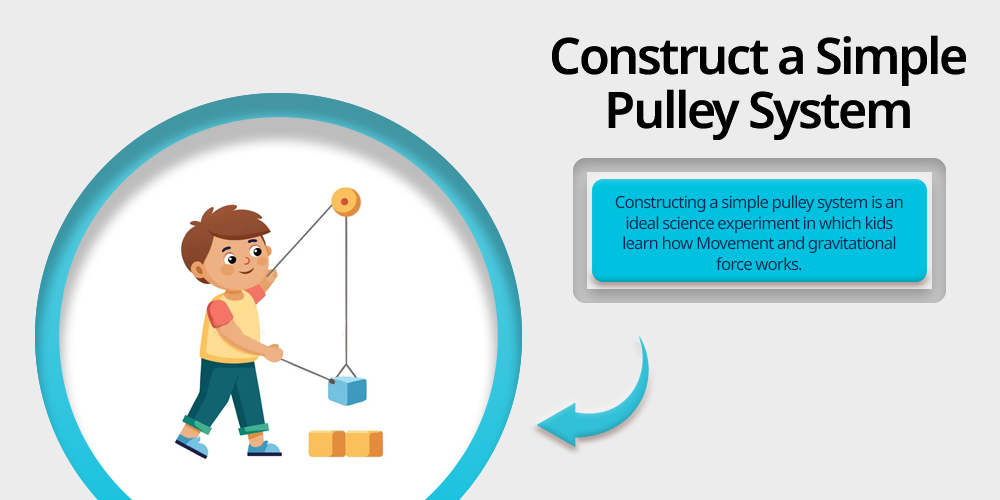
Constructing a simple pulley system is an ideal science experiment in which kids learn how Movement and gravitational force works. The task is especially used to smooth out the daily work like bringing water from a well.
How to do it: With the spools or wheels and string to lift small weights.
Advantage: Introduces mechanical advantage and simple machines.
If your kid is in fourth class and wants to learn new things, these are some science experiments for 4th class students that can be done at home.
19. Balance Objects with Center of Gravity Experiments
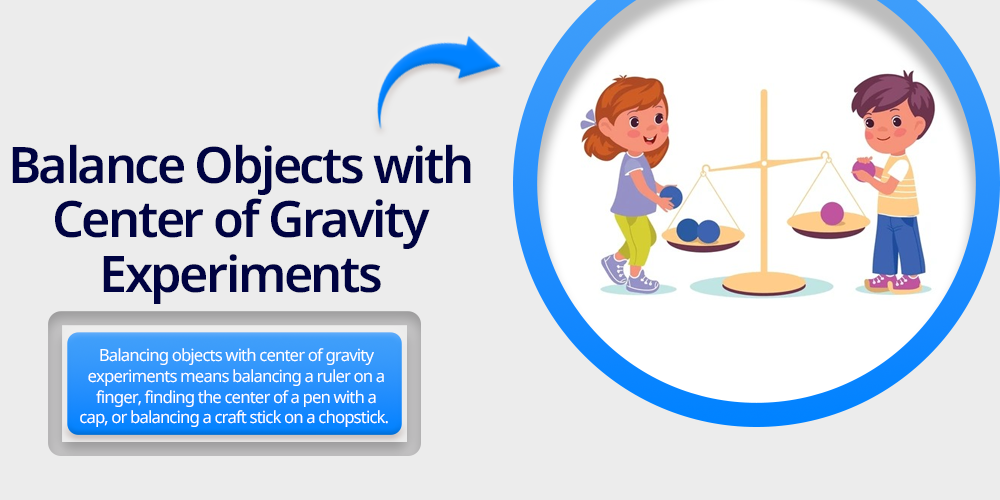
Balancing objects with center of gravity experiments means balancing a ruler on a finger, finding the center of a pen with a cap, or balancing a craft stick on a chopstick.
How to do it: Kids try different weight objects like balance scale, forks or other objects on a stick or edge. Kids also challenge each other to balance for a longer time.
Advantage: This experiment ensures balance, gravity, and center of mass. These are some important concepts learned through science experiments for high school students.
20. Create a Rube Goldberg machine
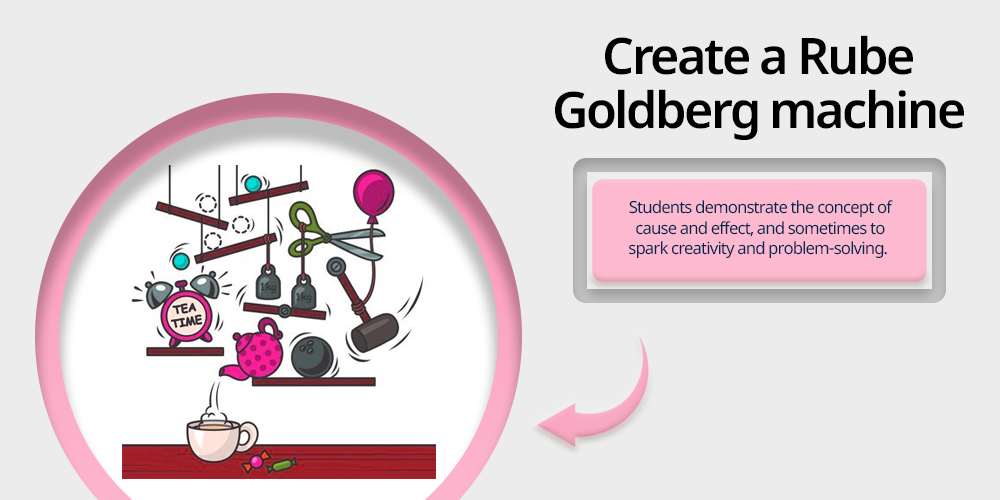
Making a Rube Goldberg machine is a popular science experiment in which students demonstrate the concept of cause and effect, and sometimes to spark creativity and problem-solving.
How to do it: The experiment starts by building a complex chain reaction to perform a simple task. For example: domino chains target a ball. Then the ball hits the wall and falls in the glass to spill our food for the cat.
Advantage: Encourages creativity, sequencing, and physics understanding.
Wrapping up
There is science everywhere! Allow children to lead the way as you explore and learn together. Your scientific journey will become considerably more worthwhile and meaningful as a result.
Your children will cherish these special connections for the rest of their lives!
So go forth and create some science with these fun experiments to do with your kids.
Also explore some simple science experiments with water, which are easy to set up at home.

You may also want to read