Are you fascinated by technology and computers and want to make your own program?
A coding program called Scratch was created especially to help children learn about coding and its principles. MIT developed Scratch, a coding program that gives children educational opportunities.
For children ages 8 and up, Scratch offers an intuitive user interface and simple coding instruction methods. With Scratch’s block-based coding approach, graphical images are used to code instead of numbers.
Understanding coding programs helps students comprehend the visual methods of coding. When learning block-based coding, children must drag graphical representations like puzzles, color boxes, etc., to write code. Through modern education , coding can be taught to every school.
Children who are interested in coding can share their ideas, thoughts, concepts and projects with others worldwide through the Scratch online community.
Table of Contents
What is Scratch Programming?
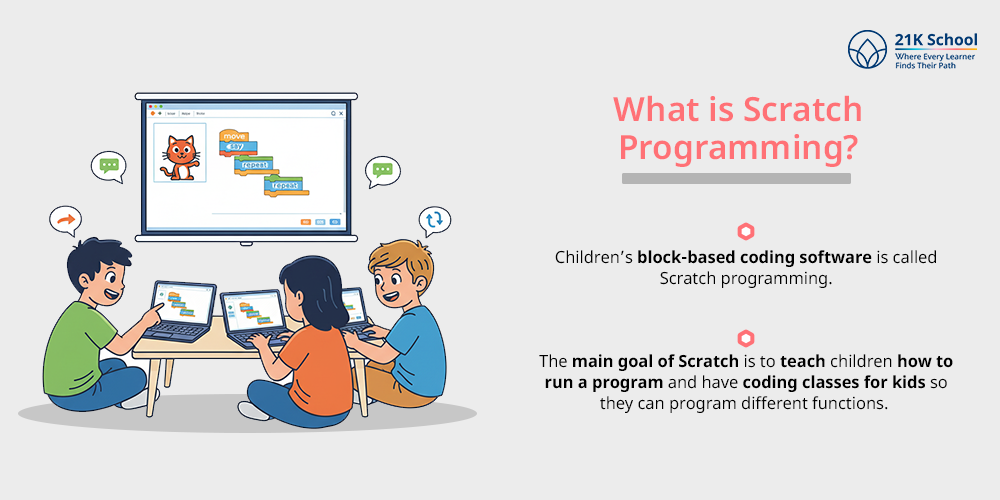
Children’s block-based coding software is called Scratch programming. The main goal of Scratch is to teach children how to run a program and have coding classes for kids so they can program different functions
Children can program games, stories, animations and more using Scratch. With the aid of blocks as opposed to professional coding programs that employ specialized coding languages like Python Java, CSS, etc.
Scratch does not allow students to write special characters in order to run programs, unlike other programming languages. All a child has to do is drag the graphical representations into the blocks to launch programs or games.
The kids will benefit from this by gaining a fundamental understanding of programming. Because the Scratch application is written in both JavaScript and AndroidScript and uses coding languages, it can be used on tablets, smartphones and laptops.
Students from various backgrounds can virtually share their projects ideas, thoughts and concepts on Scratch, which also serves as a platform for community interaction.
Types of Elements on Scratch
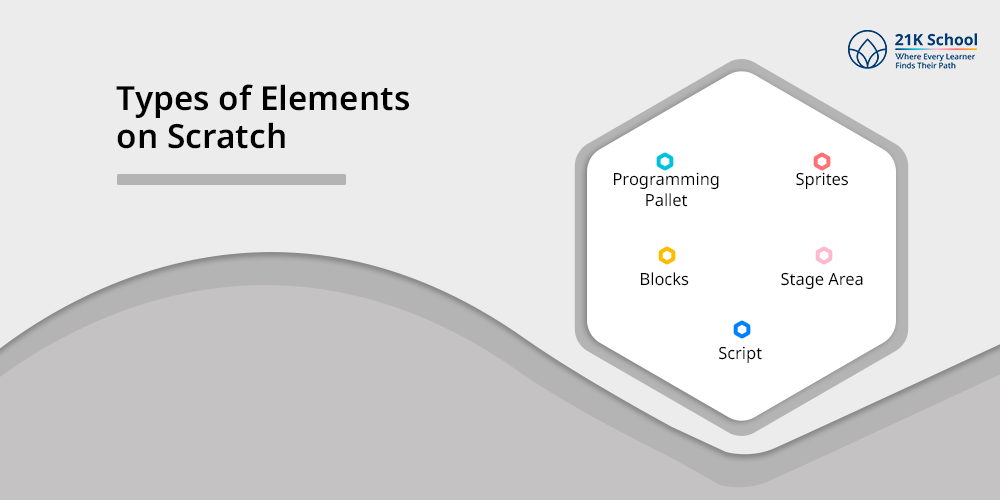
Pallets, sprites, blocks, stage, space, and script are the five fundamental components of Scratch programming that are necessary for executing a program. Before they can leave the program, a child must comprehend the components.
You can review the fundamental components of Scratch below.
1. Programming Pallet:
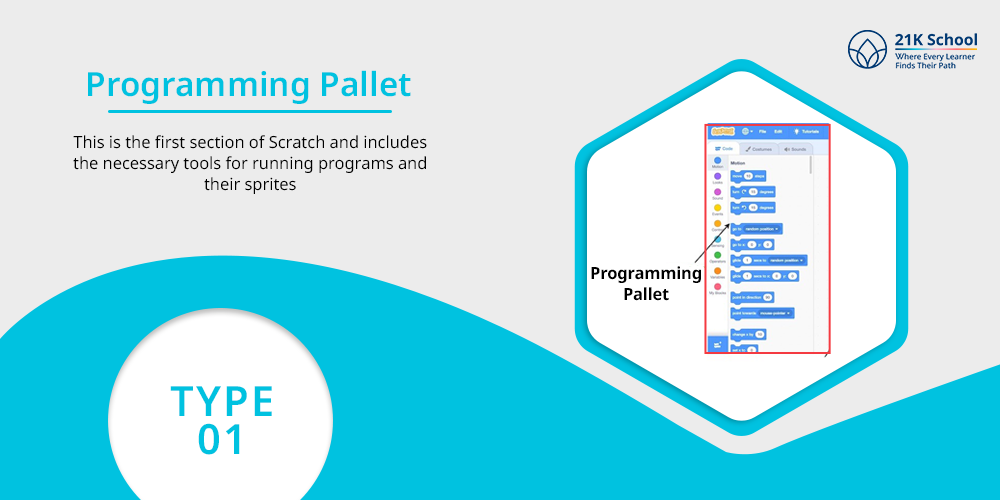
This is the first section of Scratch and includes the necessary tools for running programs and their sprites. The programming palette contains commands for various program components.
2. Sprites:
Sprites are the main software applications that use a programming palette to create graphical representations. A picture is configured as a graphical representation in Sprite.
3. Blocks:
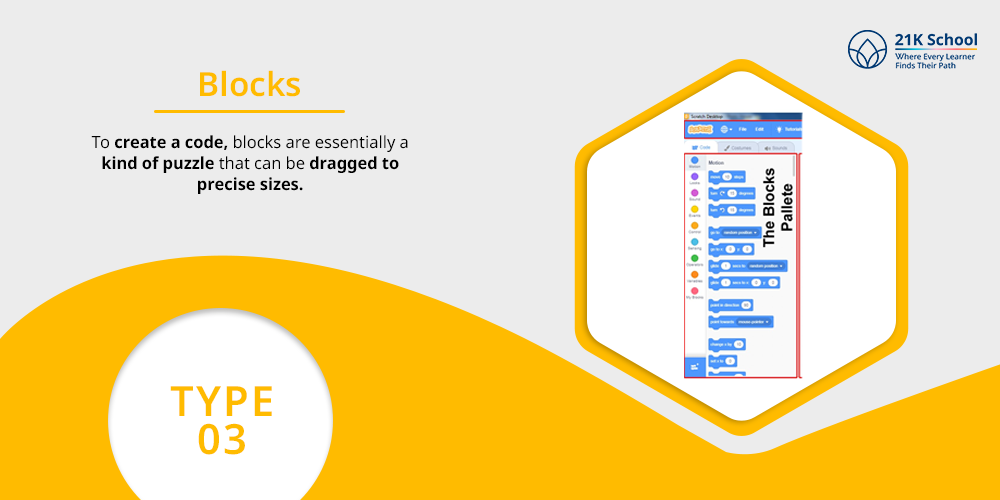
To create a code, blocks are essentially a kind of puzzle that can be dragged to precise sizes. To avoid syntax errors, each code block has a different size and shape.
4. Stage Area:
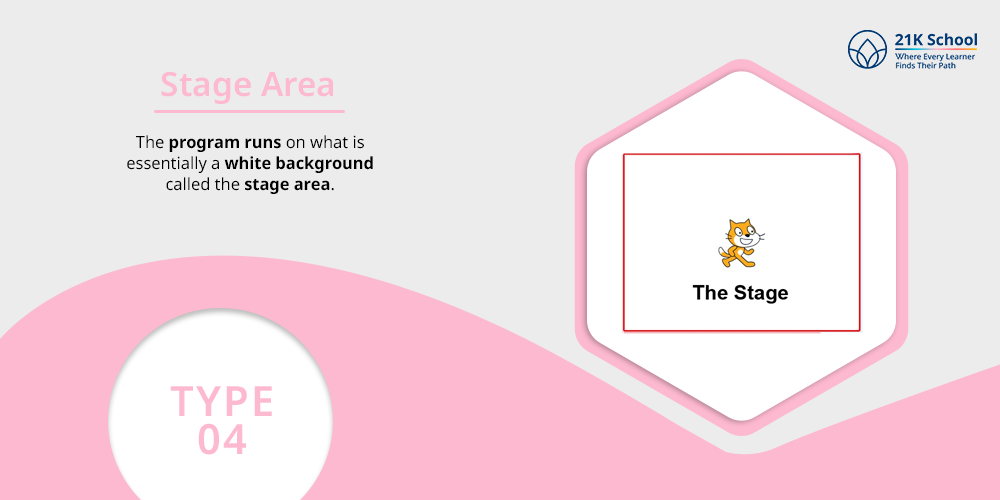
The program runs on what is essentially a white background called the stage area. The stage area is where all of the sprites’ actions are performed.
5. Script:
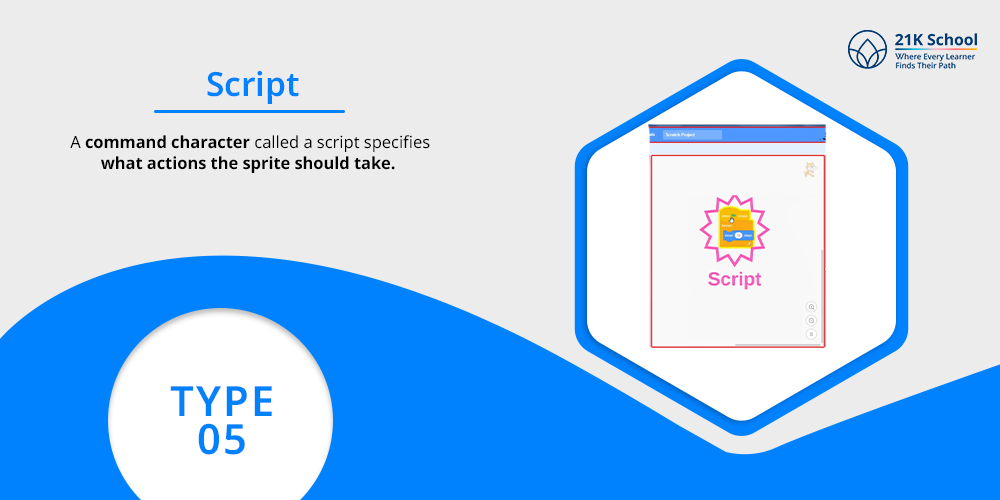
A command character called a script specifies what actions the sprite should take.
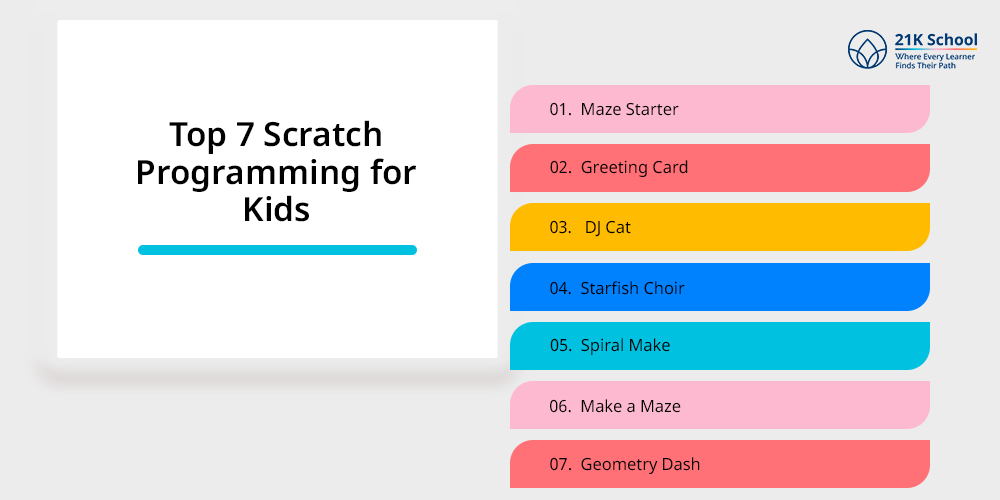
Top 7 Scratch Programming for Kids
Scratch allows kids to make different types of projects and games. Through Scratch, kids can develop any kind of ideas into reality through the Scratch coding program.
Children develop their ability to reason methodically, collaborate with others and think creatively as they create with Scratch online.
Scratch for Kids fosters teamwork, self-expression, computational thinking, and problem-solving abilities. Below, you can check the Scratch projects and games for kids.
1. Maze Starter:
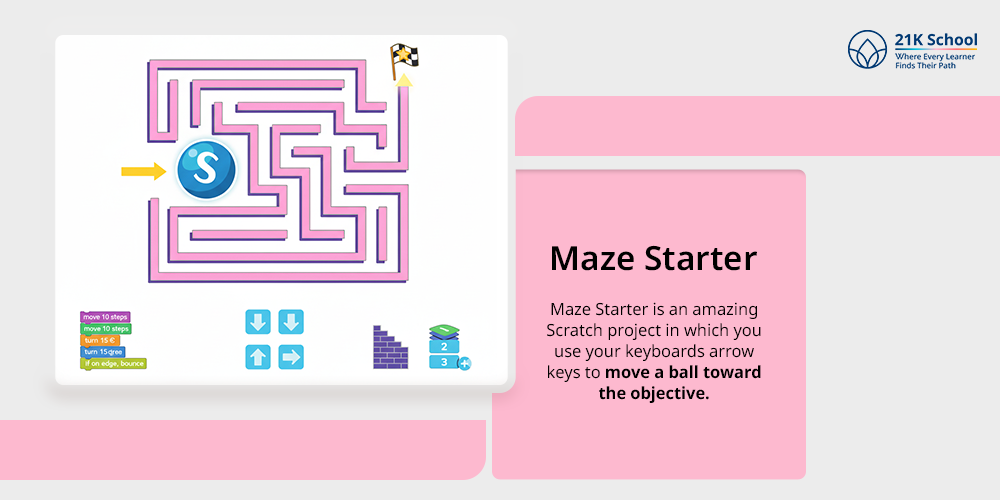
Maze Starter is an amazing Scratch project in which you use your keyboards arrow keys to move a ball toward the objective. Adding more obstacles and creating new levels are two ways to personalize the game.
It also has score-keeping features, such as gathering rewards for picking the right path and deducting points for running into walls.
2. Greeting Card:
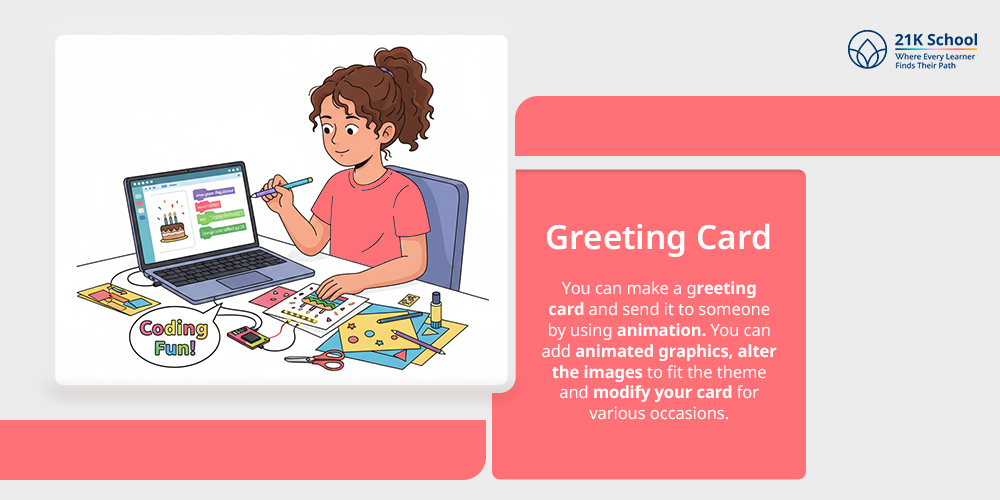
In scratch, you can make a greeting card and send it to someone by using animation. You can add animated graphics, alter the images to fit the theme and modify your card for various occasions.
Combining creative visual thinking with computational thinking makes for a fun activity. In addition to stimulating your creativity, this project will help you clear your head!
3. DJ Cat:
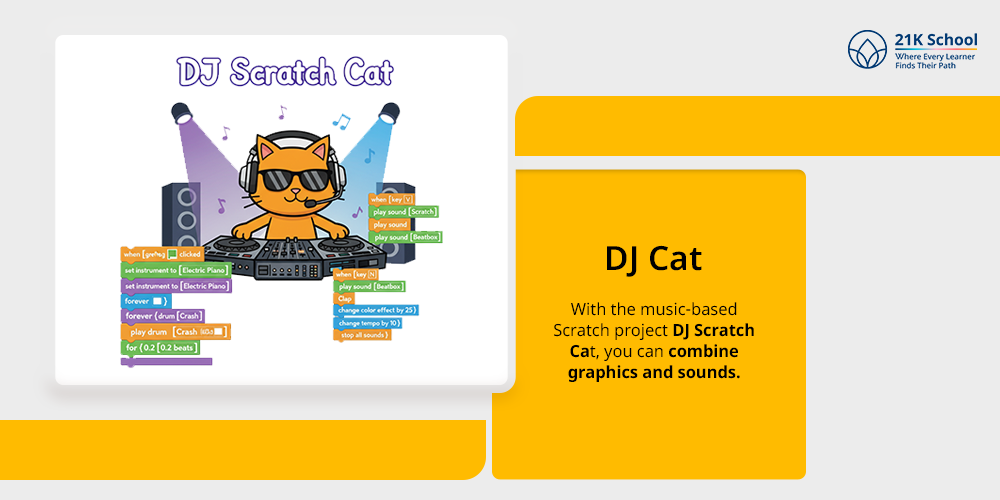
With the music-based Scratch project DJ Scratch Cat, you can combine graphics and sounds.
To experiment with sounds, press V, B, N or Z X C as directed on the Scratch website. You can experiment with different songs and keys, or you can replace Scratch Cat with another DJ.
4. Starfish Choir:
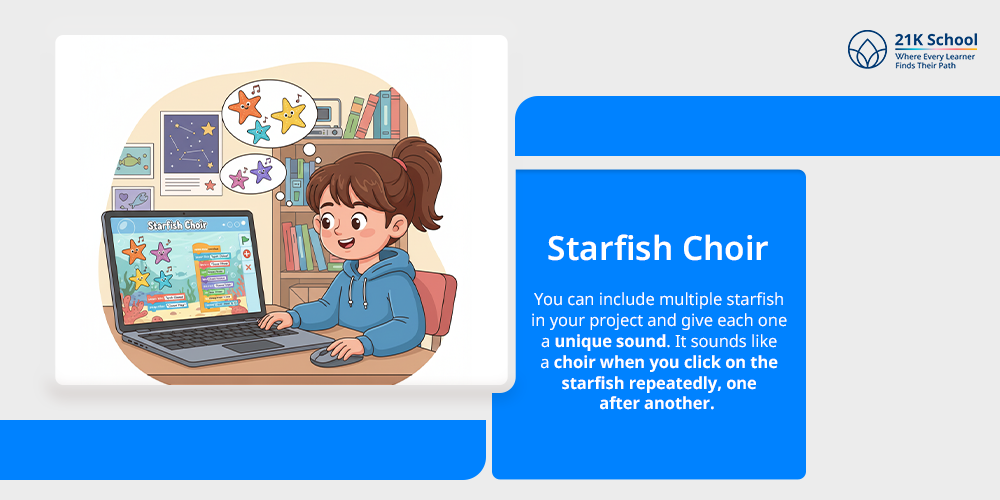
It is a fun Scratch project with a musical theme. You can include multiple starfish in your project and give each one a unique sound.
It sounds like a choir when you click on the starfish repeatedly, one after another. This project can be remixed with various characters, backgrounds and sounds.
5. Spiral Make:
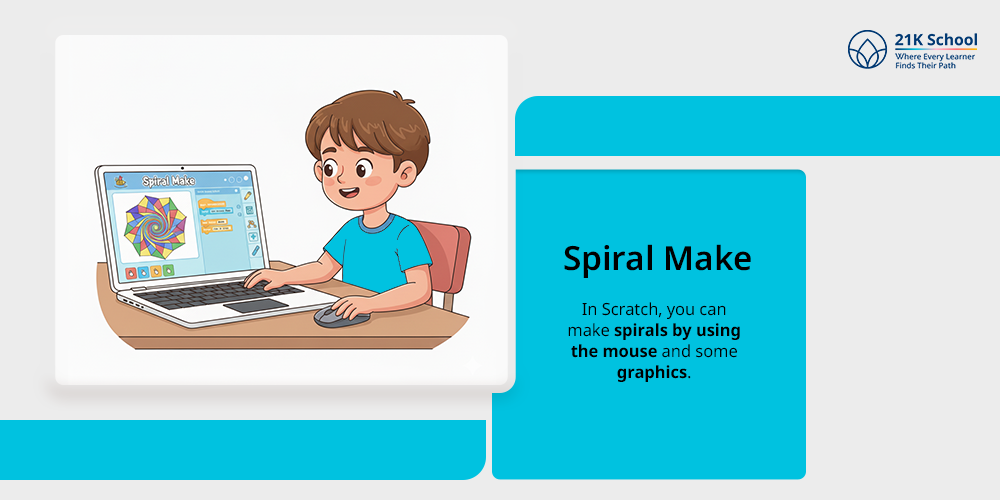
In Scratch, you can make spirals by using the mouse and some graphics. To complete the tasks, you must click with the mouse.
The project instructions also include some remix tips like adjusting the width of the pen, creating varying-sized spirals, changing the color of the pen and creating new shapes.
6. Make a Maze:
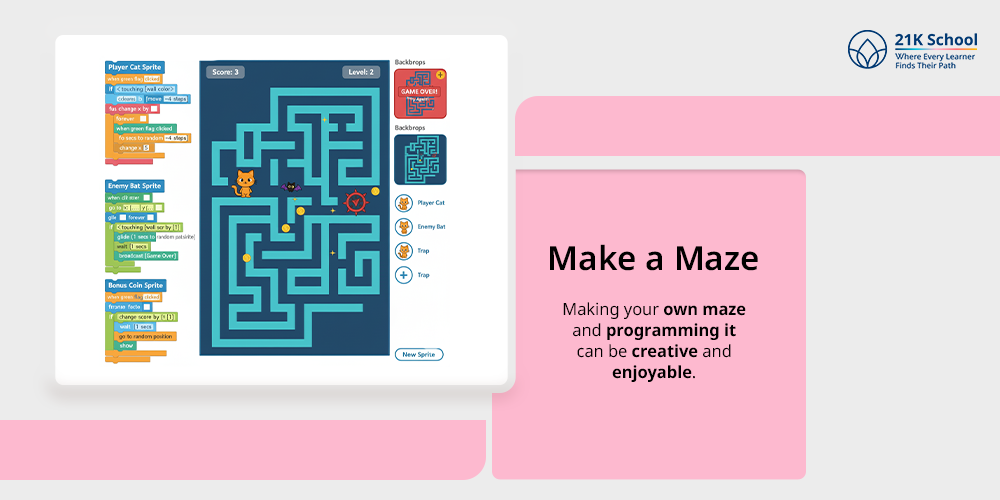
Making your own maze and programming it can be creative and enjoyable.
By creating their own backdrops and program characters, students learn how to stay inside the walled boundaries while creating a maze.
Your maze can be enhanced with extras like enemies, bonuses and traps. To keep players feeling challenged and returning, you can also create mazes that get harder and harder.
7. Geometry Dash:
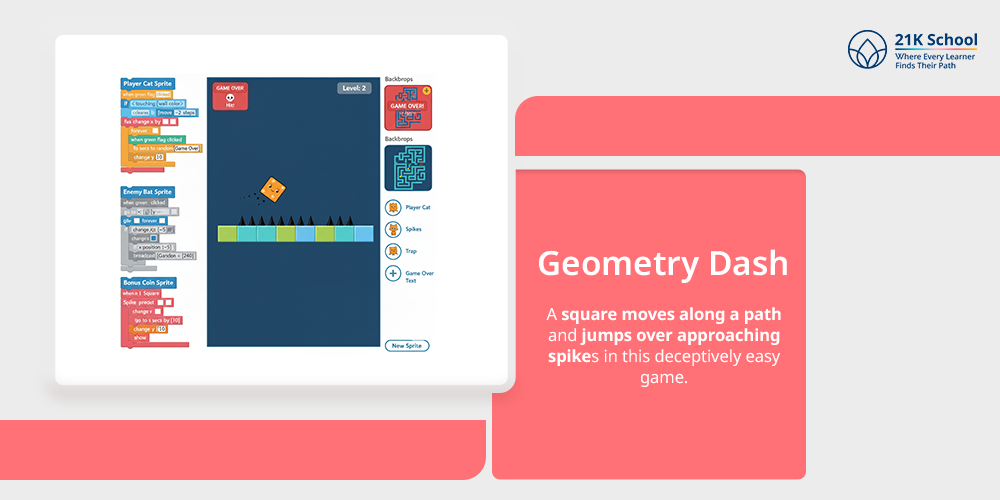
A square moves along a path and jumps over approaching spikes in this deceptively easy game. You can set up a game over screen to show up if the players square strikes any of the spikes.
For this assignment, it is encouraged that students design and illustrate their own sprites.
This is a fantastic chance for your student to practice drawing sprites in the Scratch interface, so let them be creative with their shape designs.
Steps to Download Scratch Programming for Kids
Children can use Scratch, a free online editing tool . The Scratch software is compatible with tablets, phones and laptops because it uses both JavaScript and AndroidScript.
Students can get it straight from the official website and download it to their operating system. This is how you can download Scratch.
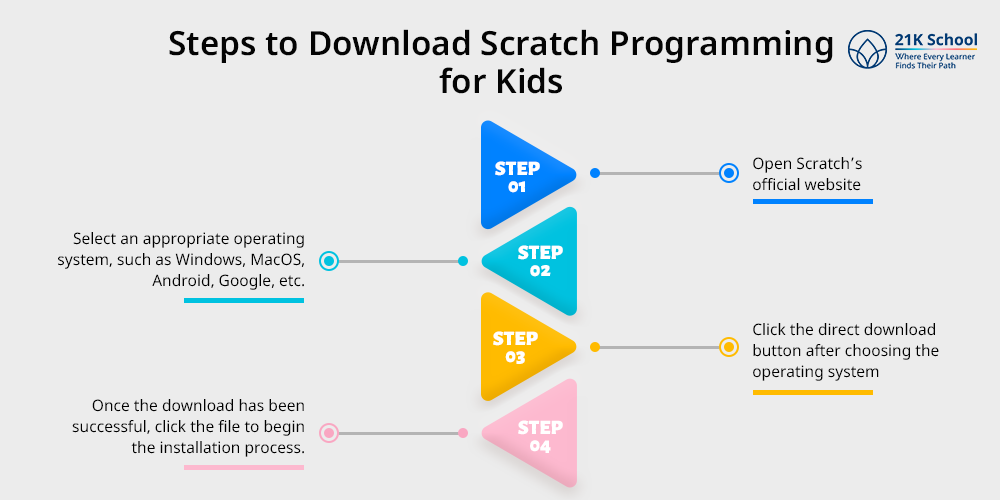
- Step 1: Open Scratch’s official website in the Chrome browser.
- Step 2: Select an appropriate operating system, such as Windows, MacOS, Android, Google, etc.
- Step 3: Click the direct download button after choosing the operating system by scrolling down.
- Step 4: Once the download has been successful, click the file to begin the installation process.
How to Use Scratch to Run a Program
Because Scratch is specifically made for children and has an extremely user-friendly interface, any student can use it to run programs. Students can use Scratch to create a birthday project.
Children can create their own programs using Scratch and present them to an online community, which gives students interest and helps them become more confident.
The steps to run a program using Scratch are shown below.
- Step 1. Launch Scratch and navigate to the editor interface. A cat character will appear by default.
- Step 2. Click after dragging down to the events block option. Include when sprite I click when green flag clicked or when space key hit in the script.
- Step 3. The character will now make a sound when you drag the start sound meow option from the sound block to the when green flag clicked box.
- Step 4. Drag the move 10 steps option under start sound meow to position it there. Change the number from 10 to 100.
- Step 5. To launch the application, click the green flag after completing all the steps. Characters can now move and make sounds.
Benefits of Scratch Programming
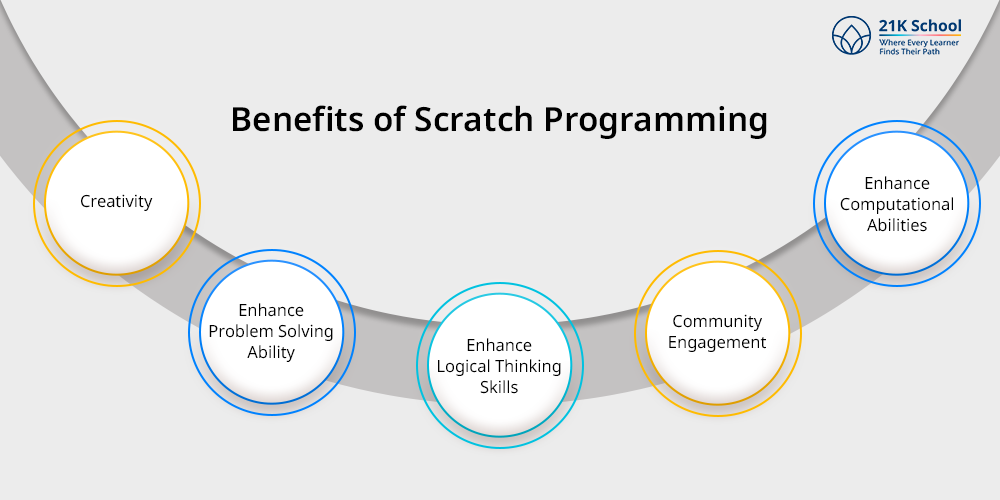
One of the greatest programming tools for children is Scratch. In addition to teaching students how to code, it emphasizes their overall development of creativity, imagination and critical thinking.
Scratch gives students the chance to showcase their skills and network with different coding professionals. Students can also strengthen their foundation and advance their technological knowledge.
Here are the benefits of Scratch programming for kids.
1. Creativity:
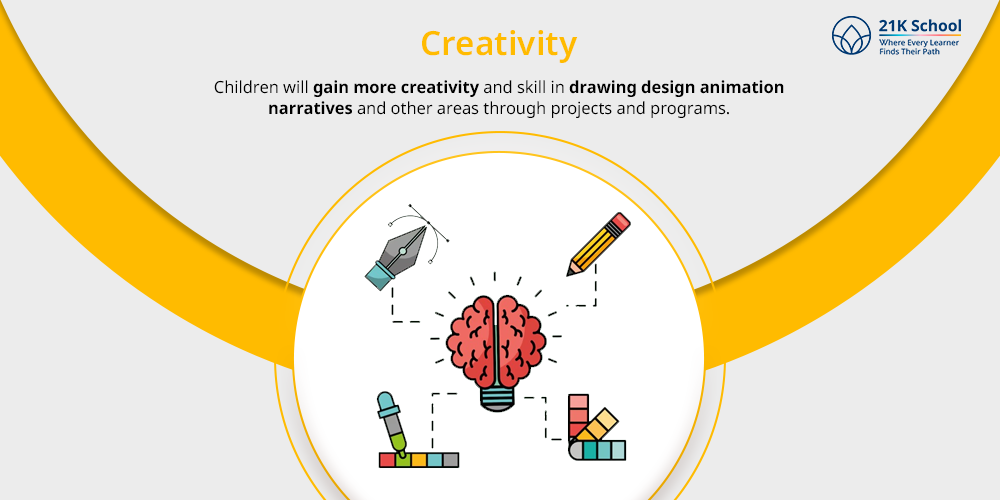
Children can improve their own drawings by using graphical representations, drawings and designs.
There are many backgrounds and symbols in Scratch. Students continue to run programs on it and create drawings.
Children will gain more creativity and skill in drawing design animation narratives and other areas through projects and programs. Students can develop their imaginations by using Scratch software.
2. Enhance Problem Solving Ability:
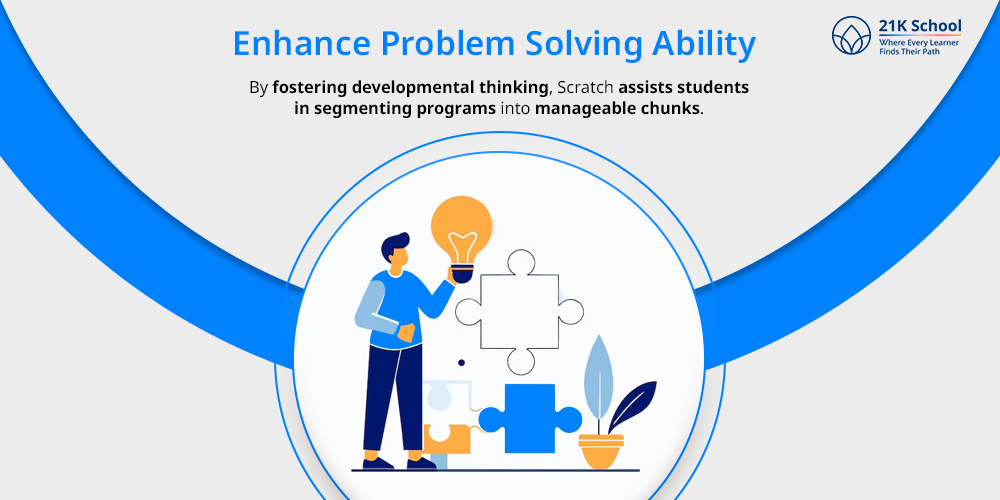
The curriculum supports children’s problem-solving skills. By fostering developmental thinking, Scratch assists students in segmenting programs into manageable chunks.
Students can create solutions to issues by using Scratch coding.
By providing a thorough context, Scratch also aids in the development of problem-solving abilities.
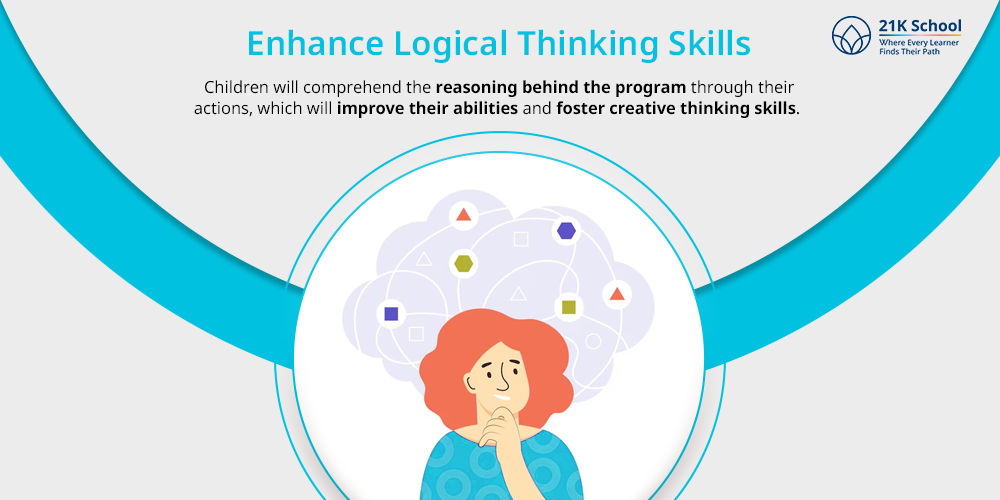
3. Enhance Logical Thinking Skills:
Scratch graphical programs also encourage logical thinking. Students code their programs using drag-and-drop technology, which uses blocks and graphics to execute programs rather than writing code.
Children will comprehend the reasoning behind the program through their actions, which will improve their abilities and foster creative thinking skills .
4. Community Engagement:
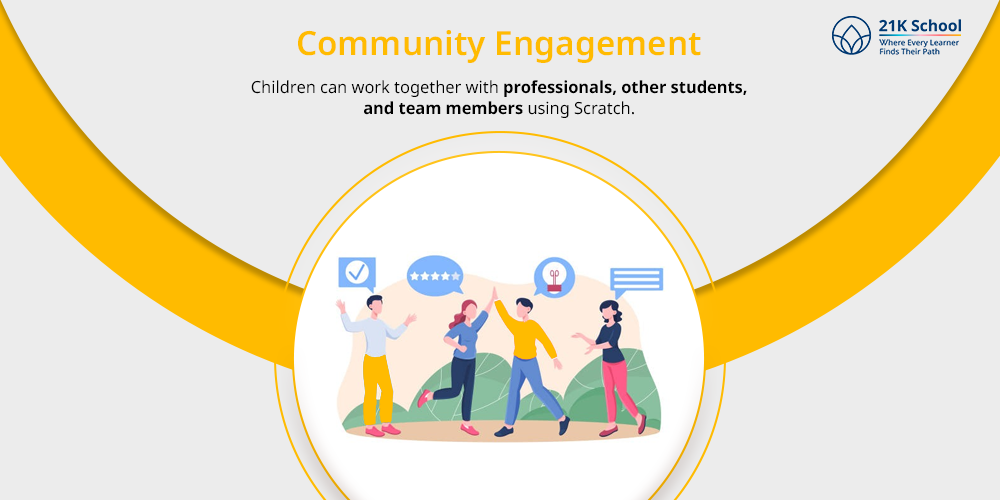
Children can work together with professionals, other students, and team members using Scratch.
Additionally, Scratch serves as a community engagement platform where students from various backgrounds can exchange ideas, projects, assignments, thoughts and more, which enables them to cooperate and establish business relationships.
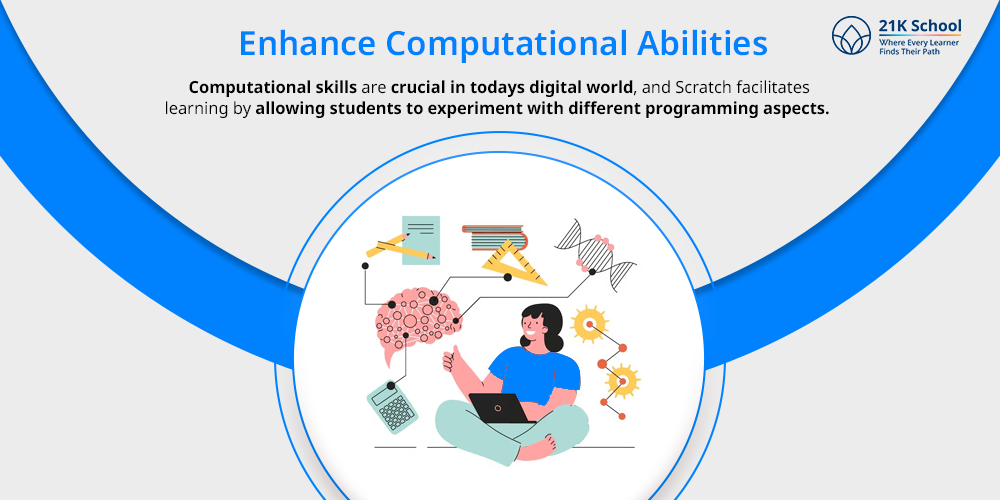
5. Enhance Computational Abilities:
Through programming, Scratch aids students in honing their computational abilities.
Computational skills are crucial in todays digital world, and Scratch facilitates learning by allowing students to experiment with different programming aspects.
Conclusions
Scratch programming offers a fun and accessible introduction to coding for children ages 8 and older.
Children can create games, stories and animations using Scratch’s user-friendly block-based interface, which fosters critical thinking, creativity and imagination.
The platform not only enhances computational abilities but also encourages community engagement by allowing young programmers to collaborate with peers worldwide and share their work.
Scratch is a great tool for future technologists because it provides children with a solid foundation in programming concepts, enabling them to thrive in an increasingly digital world.

You may also want to read